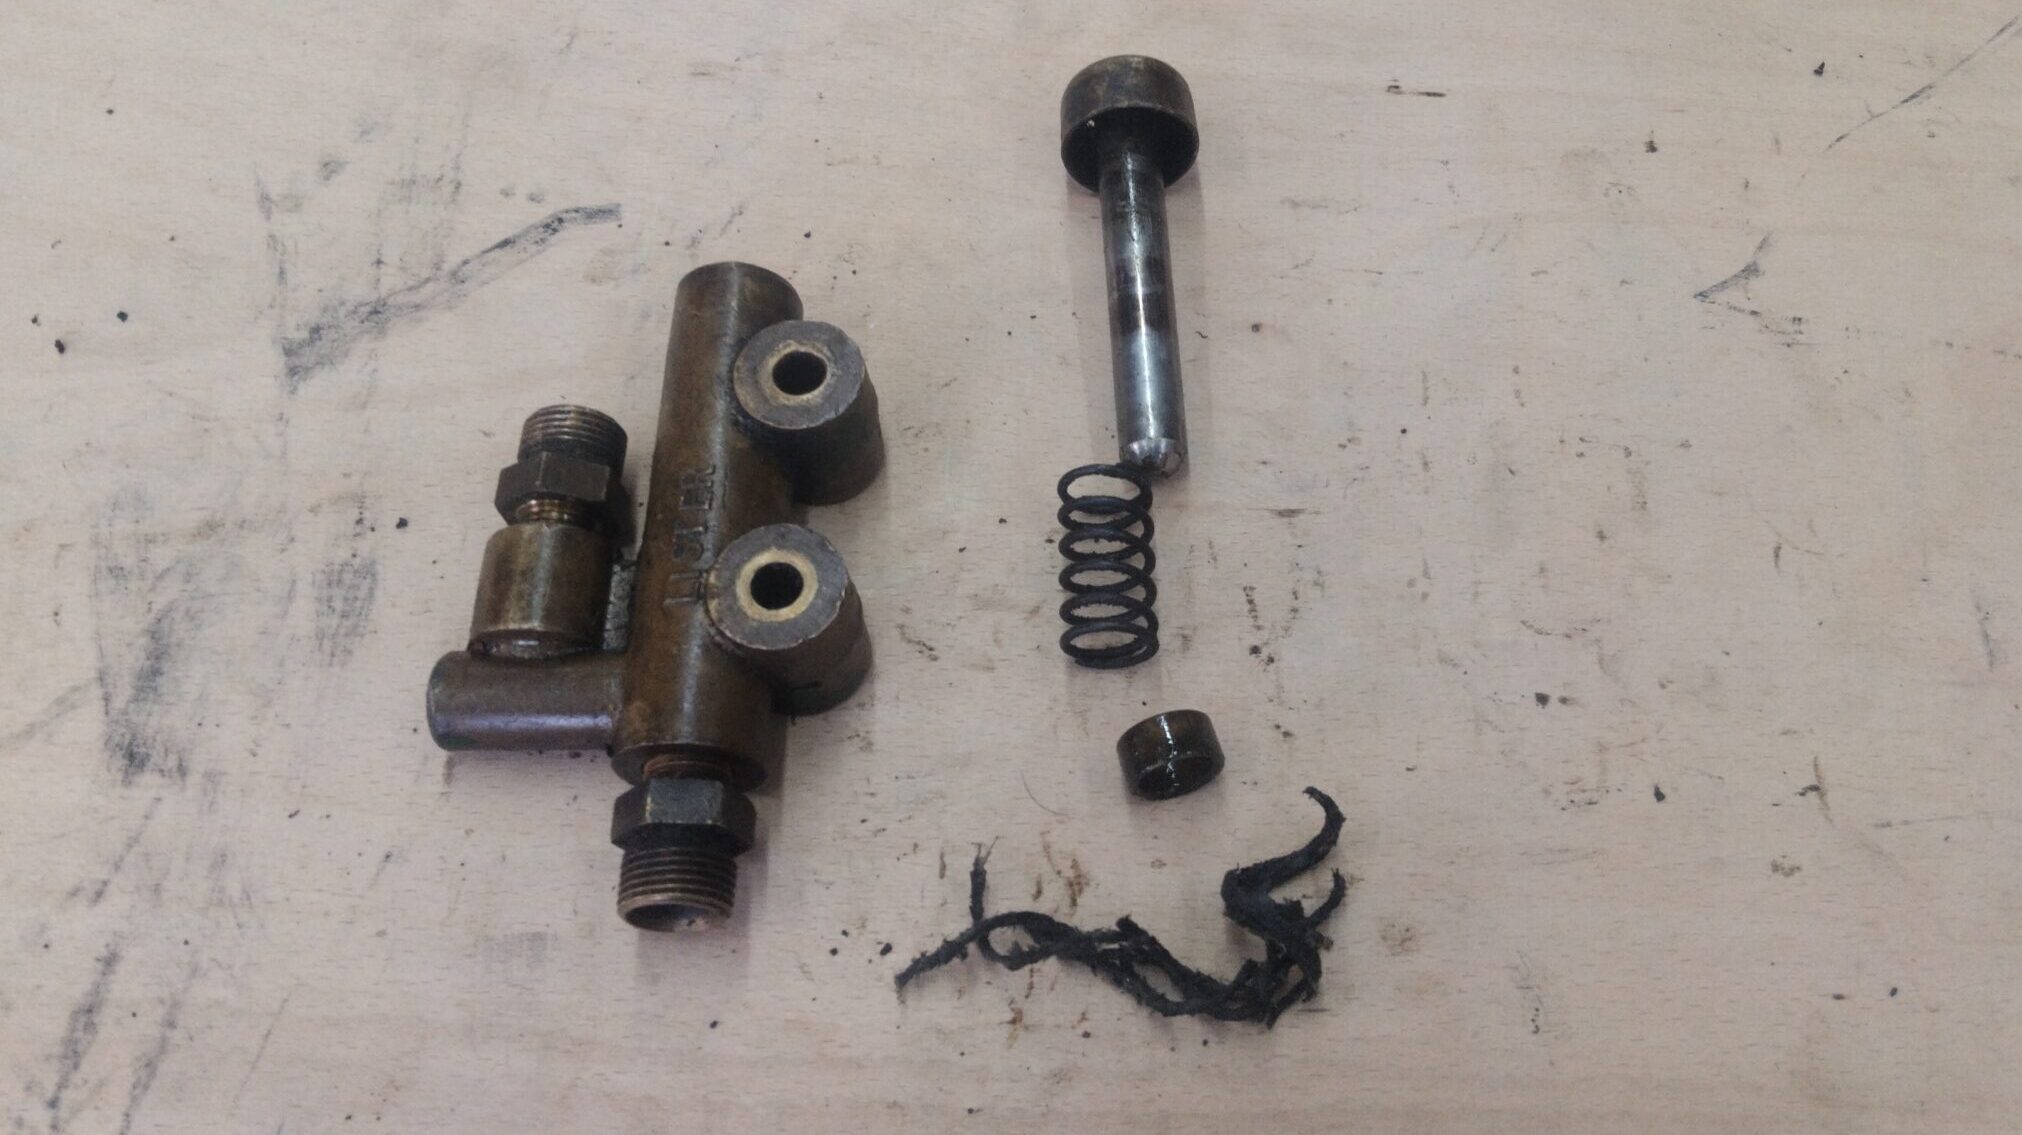
A question that comes up all too often is “How do I rebuild the fuel pump on my Lister Junior”. Very often, after many years of neglect, the gland packing string will have gone hard allowing fuel to pass the pump shaft itself, running down the pump body and dripping off the bottom, that’s if the valves still seal at all.
Seeing as we sell rebuild kits for both early and late style Lister pumps it seems only fair we put together a bit of a guide to help you through the rebuild process.
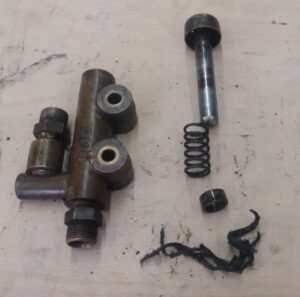
Step 1 – Remove the pump shaft from the pump body including the dust cap, spring and gland collar, then using a pick or similar, dig out the old gland packing string.
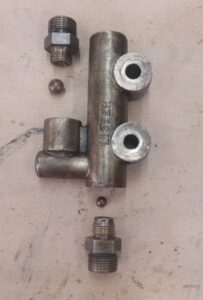
Step 2 – Remove both the inlet and outlet valve bodies including their corresponding balls. Give everything a thorough clean including the valve seats.
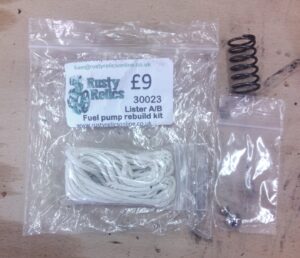
The rebuild kit – As you can see, the kit includes a new replacement spring, both inlet and outlet valve balls and an ample amount of gland packing string.
Step 3 – Replace both inlet and outlet valve balls with the new marine grade stainless steel balls supplied in the kit. Place each valve body onto a solid surface or in a vice if possible, Drop the valve ball on its seat and with a small pin punch, a sharp tap with a hammer should be all that’s required to seat the new ball. Be sure to ensure the balls are fitted in the correct ends given the difference in size. In really bad cases the seat may require a little more work.
With both valves refitted you can now turn your attention to the pump shaft and gland packing. Be careful at this point not to lose the small inlet valve, as while the pump shaft is removed, the ball can easily escape through the pump body.
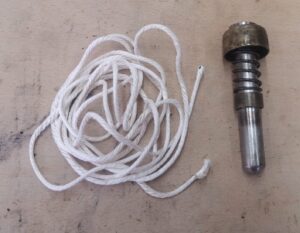
Step 4 – Note the order in which the pump shaft/piston is built. Dust cap first, followed by the spring and then lastly the gland collar, one side of which is chamfered. Be sure that this is facing down the pump shaft as it is, this then helps tighten the gland packing.
Step 5 – Push the dust cap, spring and gland collar all the way to the top of the shaft, not tight, just making sure there are no gaps. This allows sufficient room on the shaft to take the new gland packing string. In this case it was 15 turns but can vary slightly. Again, wind the string so that each turn is close together but there is no need to force them tight. That is the job of the collar once refitted to the pump.
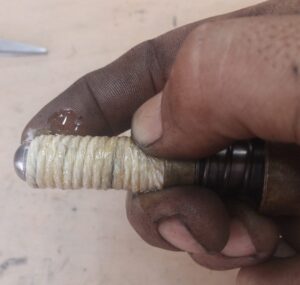
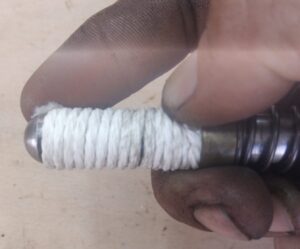
Step 6 – Give the gland packing string a good few squirts from the oil can, nothing special, just your general engine oil.
Final step – Replace the piston into the pump body. Paying particular attention to the gland packing to ensure it stays in place on the shaft on its way in. Push the piston fully home into the pump ensuring the gland collar is roughly level with the pump body. If the collar is pushed into the pump body the spring will not be able to return the piston to the “out” position. In this case you will need to repeat step 5, adding a couple of extra turns of string in the process. Do not try to just add a little extra, there is more than enough included in the kit to allow you to start again more than once.
There you have it, a fully functioning fuel pump that should no longer spew fuel all over the side of your engine.
Rebuild kits are available HERE
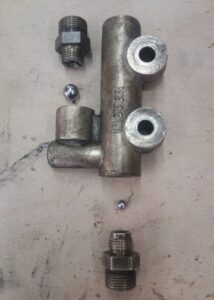
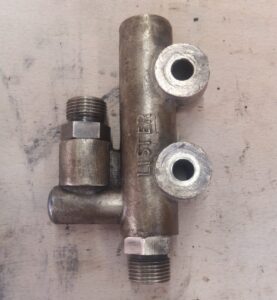
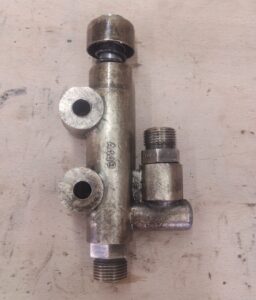
On a final note, as well as the early style pump (which we will cover in another article) there are also two types of later style pump with the outside spring (early style is internal). Thankfully both pumps use the same rebuild kits.
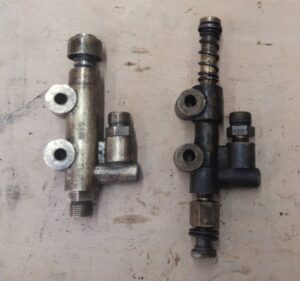
Above – Showing both styles of the later type pump, both pumps use the same rebuild kit and a very similar rebuild process.
You must be logged in to like this post.
Country: GB