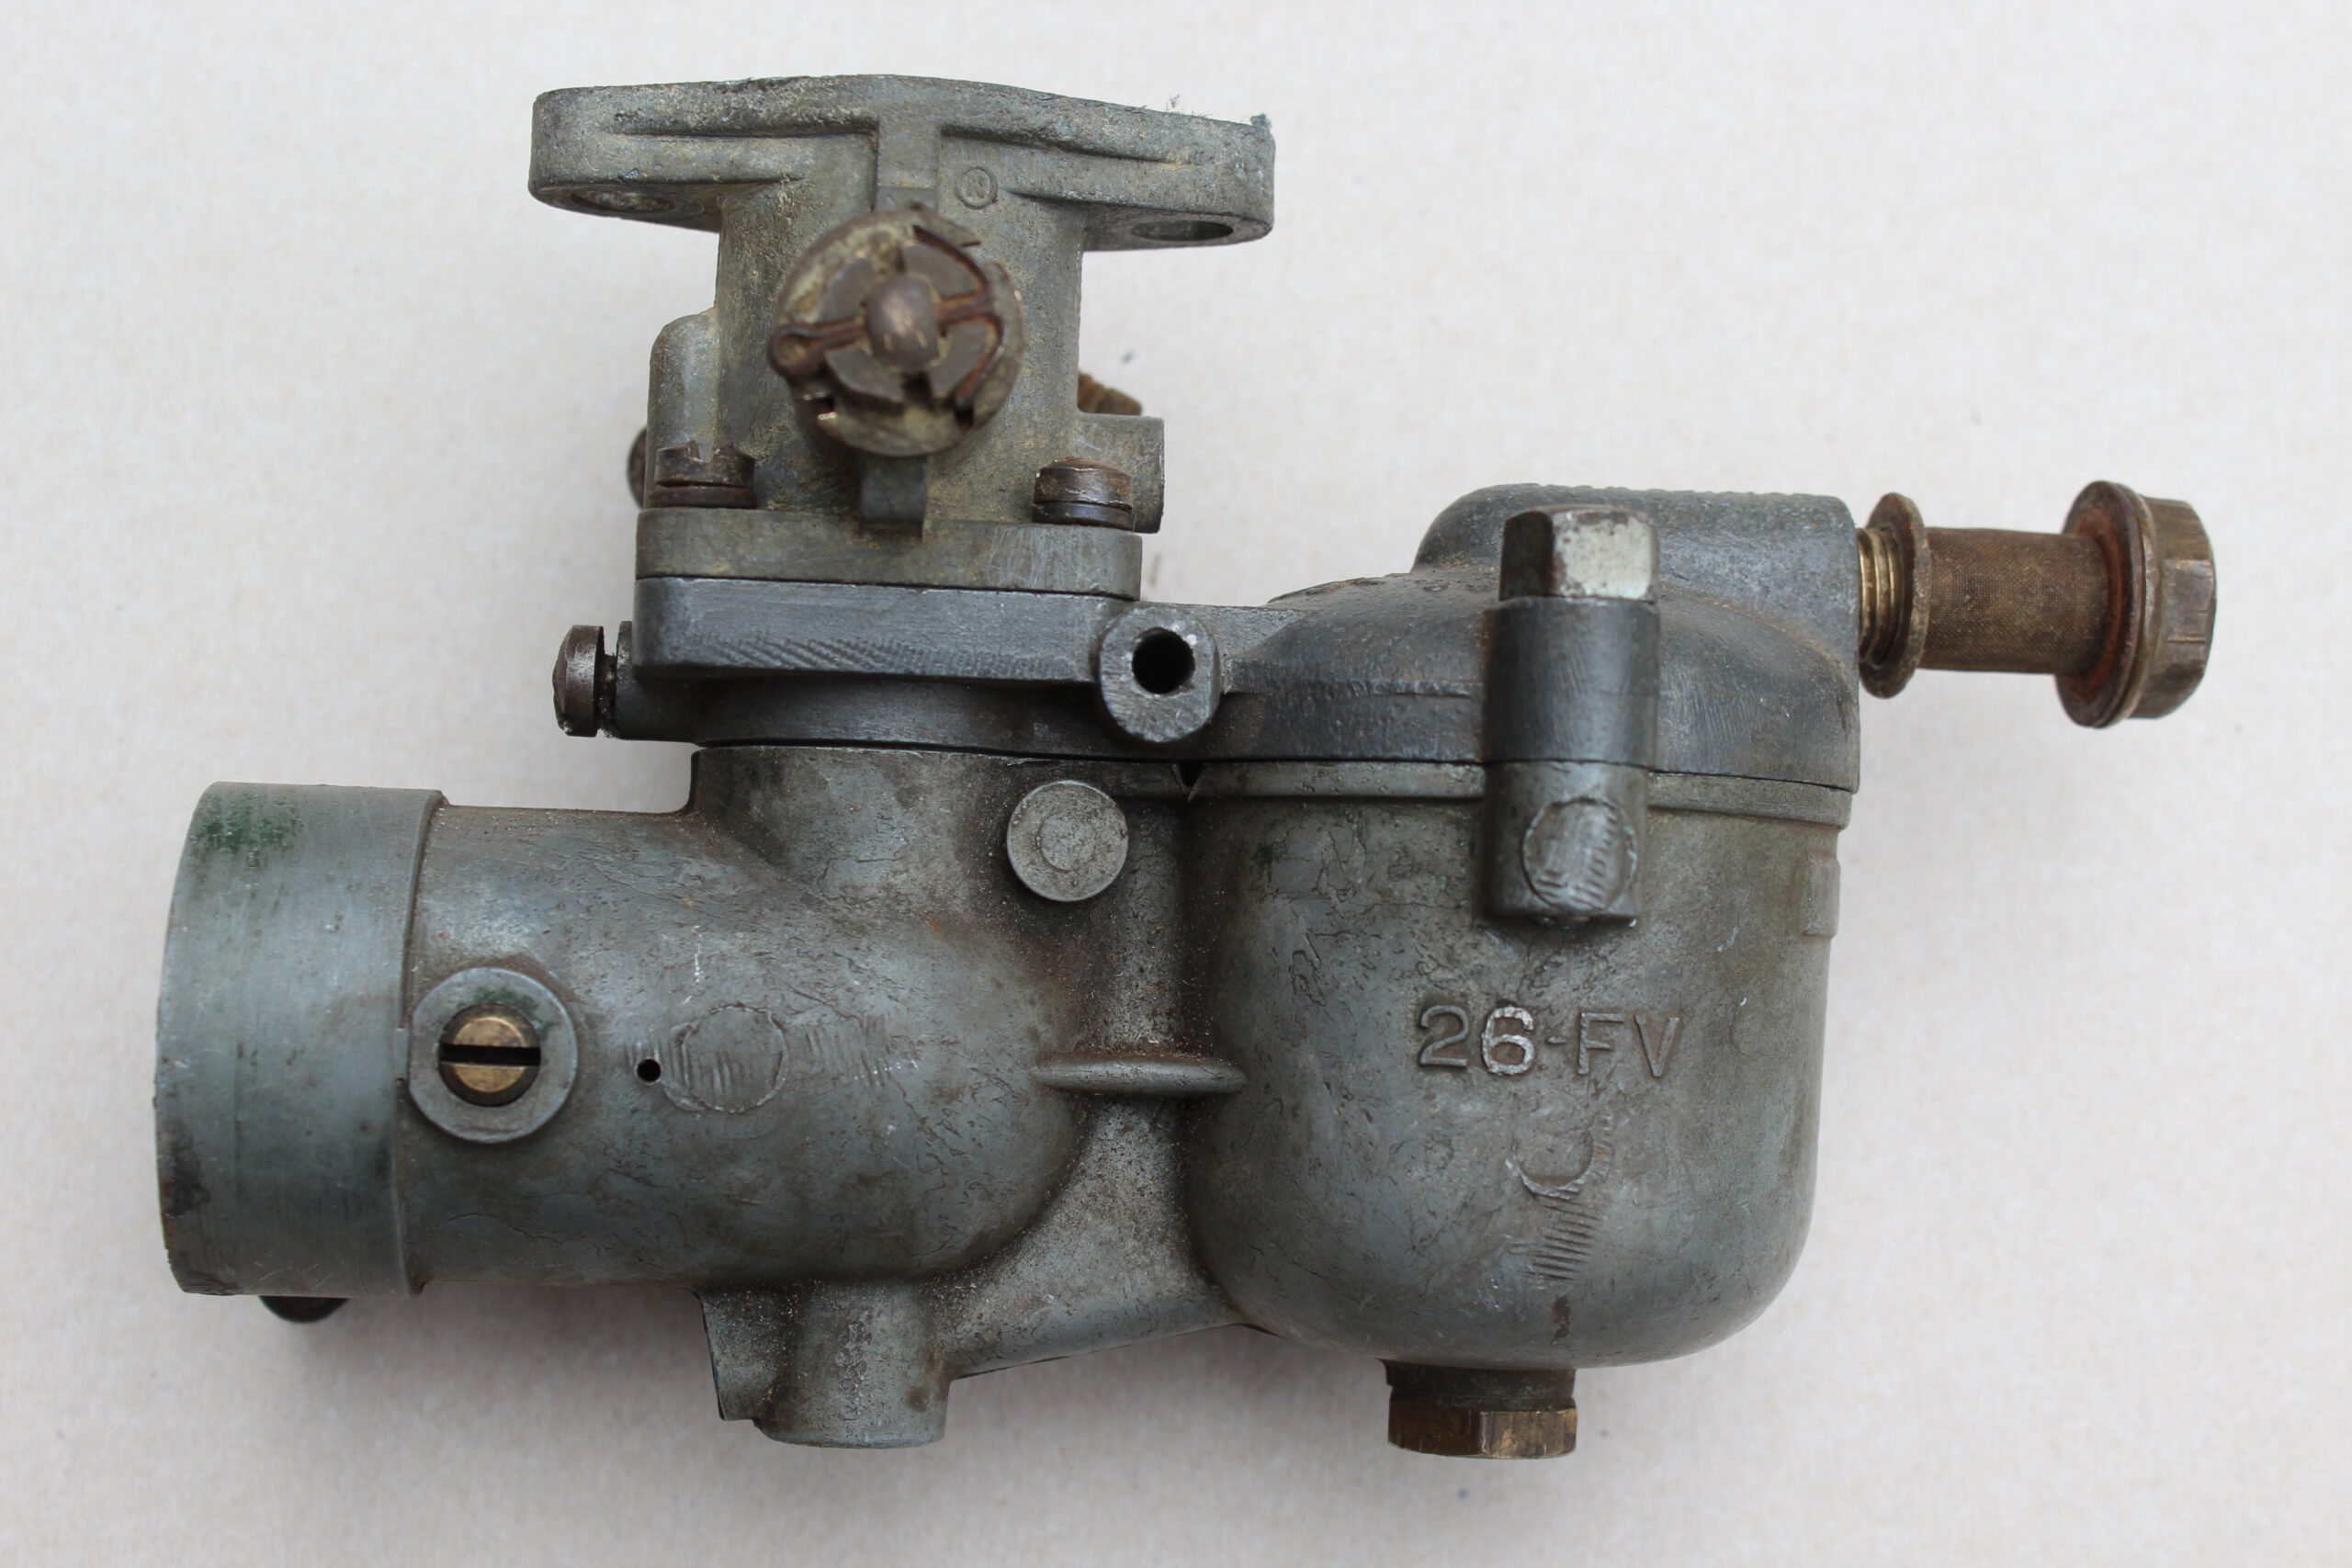
The Solex carburettor has been fitted to many engines over the years but it is the 26FV & FH series we are looking at here. They can be found on many different stationary engines including makes such as, Lister, Bamford, Fowler, Petter & BSA to name but a few. Whilst each type can look similar, the internals like jets, jet housing, choke tube etc, are specific to each engine type and size. The set up and tuning is best covered by the use of the enclosed photos of a Solex Descriptive leaflet.

When we rescue our old engines they have usually had a hard life, this can also include the carburettor. I have seen some Solex examples which needed major rework to make usable again, hopefully this article will help others needing to do similar work.
Unfortunately, as the base material is a die cast alloy, similar in properties to the dreaded mazak, Fowlers were fond of using on their PA & PD engines, the bodies of the 26FV type tend to deform over time. I have seen many with a gasket fitted between the main body and float bowl in an attempt to overcome this issue. On the 26FH type it is normally only the fuel bowl which distorts slightly. If a gasket has been added it is done to try and seal the mating faces to ensure the correct mixture is delivered to run the engine. As there are only two bolts holding these together the gasket usually fails to seal and makes the distortion even worse. As a result fuel is usually seen dripping from the carburettor and smooth running is not achievable. It should be noted that gaskets where not used when these carburettors were new.


To sort the distortion problem, the only option is to completely strip the carburettor down and using 320 wet and dry paper on a known flat surface (glass sheet is good but safety precautions are needed), I use an engineer’s table. Gently rub the offending mating surfaces of the carburettor on the wet and dry in a figure 8 movement until they are flat, using a straight edge to check. When reassembled there should be no visible gap. Before full reassembly both items will need to be properly cleaned with either a brass wire wheel and then rinsed, or if you have access in an ultrasonic bath.

On reassembly the jet needs checking to ensure that it is clean with no rust deposits from the fuel tank, causing blockages. When fitting the jet cap I only ever screw this finger tight and have never had an issue with leaks or poor running. The jet cap has a hexagon and or a screwdriver slot, we have seen examples were some previous owners have used a spanner or large screwdriver to over tighten this, resulting in bent jets and or jet caps with the top sheared off, or split at the threaded end.

On reassembly of the two main castings the screws need to be in good order, any burrs on the threads will soon strip the mating threads in the float bowl. If the threads have stripped, a M6 Recoil kit from ebay will soon fix the problem. Once screwed up again they only need a light nip up with a screw driver.
Before fitting the butterfly assembly, it is worth checking to ensure that the manifold mating surface is flat as this can also be distorted. Again the wet & dry paper will cure any issues.

If using parts from another carburettor check to make sure that you are fitting like for like parts, there are things that can catch even experienced engine folk out. I remember a friend buying an as found Fowler 1PA off another collector. He was assured that the carburettor was from another Fowler as the one on this engine was missing. When duly restored and started for the first time he was alarmed as the more the governor tried to slow the engine down the faster it got. He managed to stop the engine without damage and on checking the operation realised that the butterfly was opening as the governors tried to shut it down. Knowing that we had a Fowler in the collection and a good knowledge of these Solex Carburettors, he gave me the offending article to fathom out what was wrong. A quick check with our Fowler soon showed that the butterfly spindle was of the wrong hand and from our box of spares the issue was sorted. When returned and refitted it operated as it should. He also challenged the seller who sheepishly admitted that the butterfly housing was from a different engine.

After the overhaul, if fuel is dripping from the air intake then it will usually be found that the level is to high, this can be corrected by removing the float valve assembly and adding 1 or 2 extra fibre washers, thus lowering the level at which the valve it closed by the float.

When working on an engine fitted with a Solex carburettor the best advice I can give is that if it is more than a routine maintenance job, is to remove the carburettor and place in a safe place. I have heard of and seen the damaged caused, including some damaged beyond repair especially on the vertical Bamfords when the crankcase is opened and hinged over. Bamford (26FHG) especially and Fowler (26FHD) are like hens teeth to find and can command a hefty price to replace.
You must be logged in to like this post.
Country: GB