1956 J.A.P MODEL 0 TYPE 28
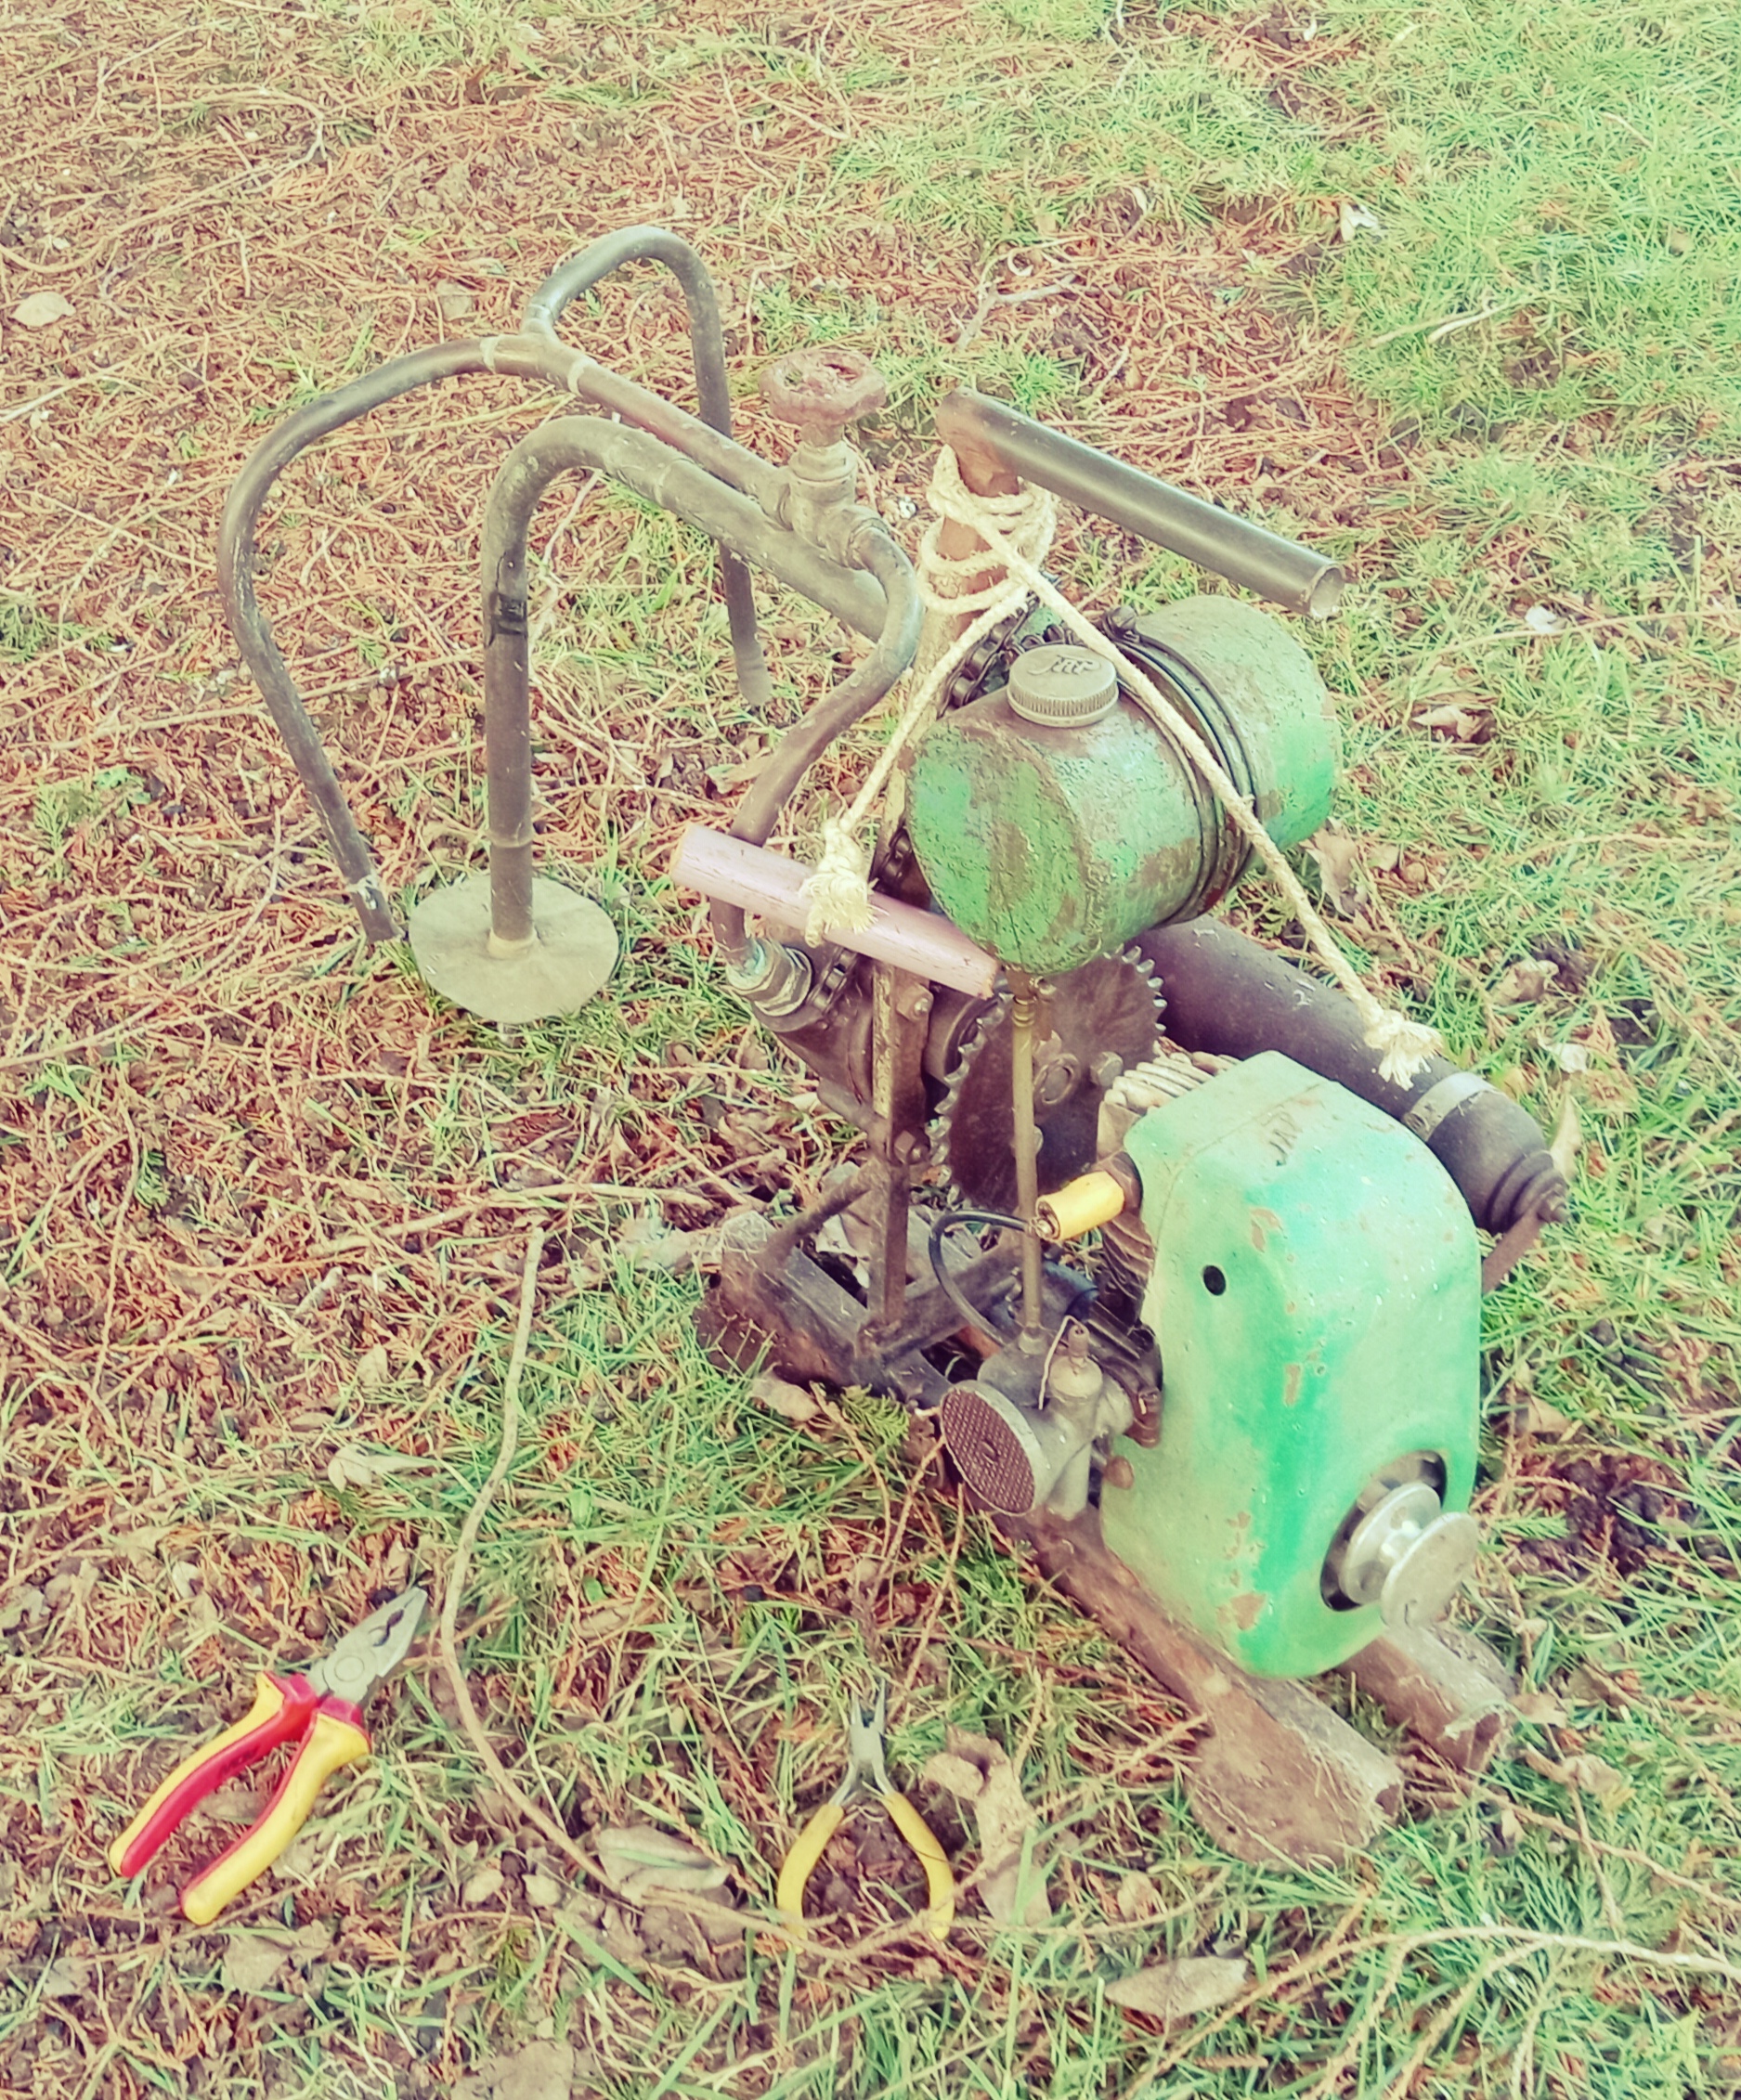
The very first engine that started my collection was a rather small but powerful engine, a small 34cc two-cycle petrol engine, driving a small centrifugal water pump. This engine was in fact the starting point for my hobby, and a great engine for the novice. When I got a hold of the engine and pump-set in early 2017, it was seized solid. The piston was rammed solid in the bore, and the pump would only rotate about 1/8 of an inch (3.175mm) clockwise. At the time, I was eight years of age and had little to no knowledge about engines. My grandad soon got the engine and pump working again after a few weeks work. Once it was running, I always remember the small pops and bangs it made, putting a smile on my little face. Seeing it run for the first time in a long time made me ecstatic. My original plan was to restore the engine and pump back into its former glory during the winter of 2017, but it was put into a shed and left for many years. It wasn’t until another eight years later in 2025 that I decided to get the engine out of the shed in my grandparents’ garden and restore it. The moment I got the engine out of the shed, for the first time in almost ten years, it brought back some memories of when I used to sit and rev the little thing, using the piece of welding wire it had as a throttle cable.
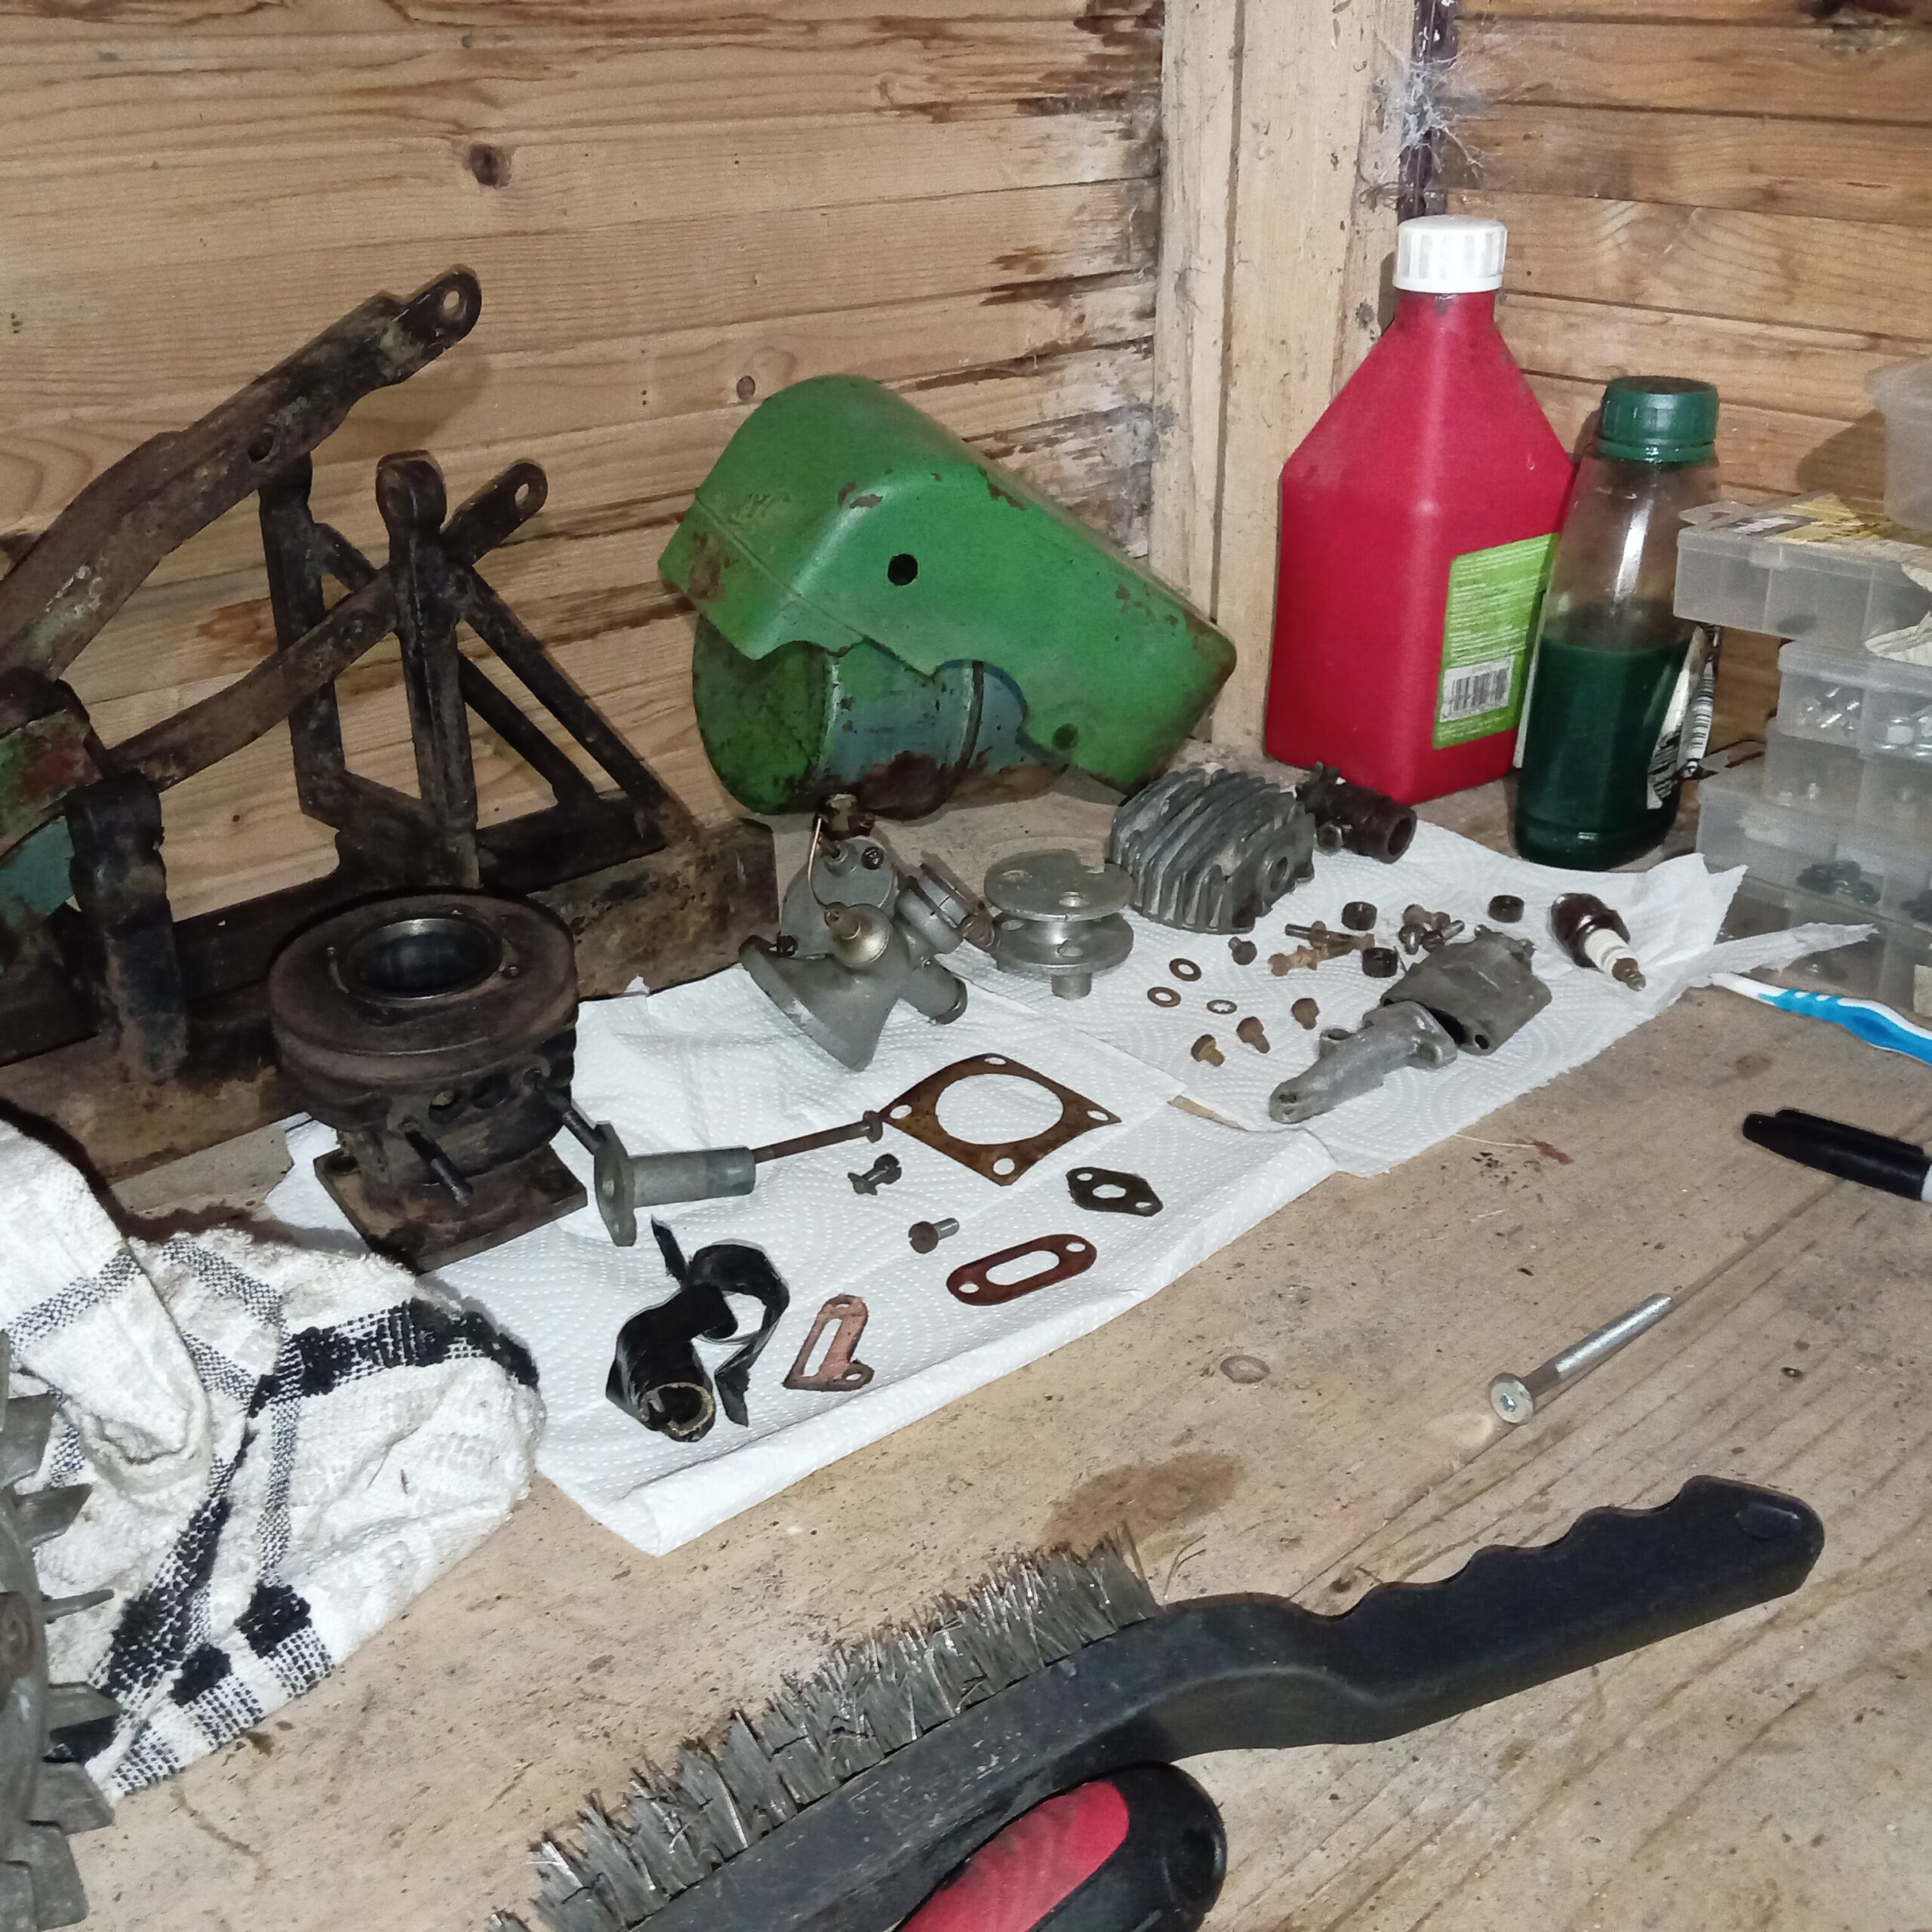
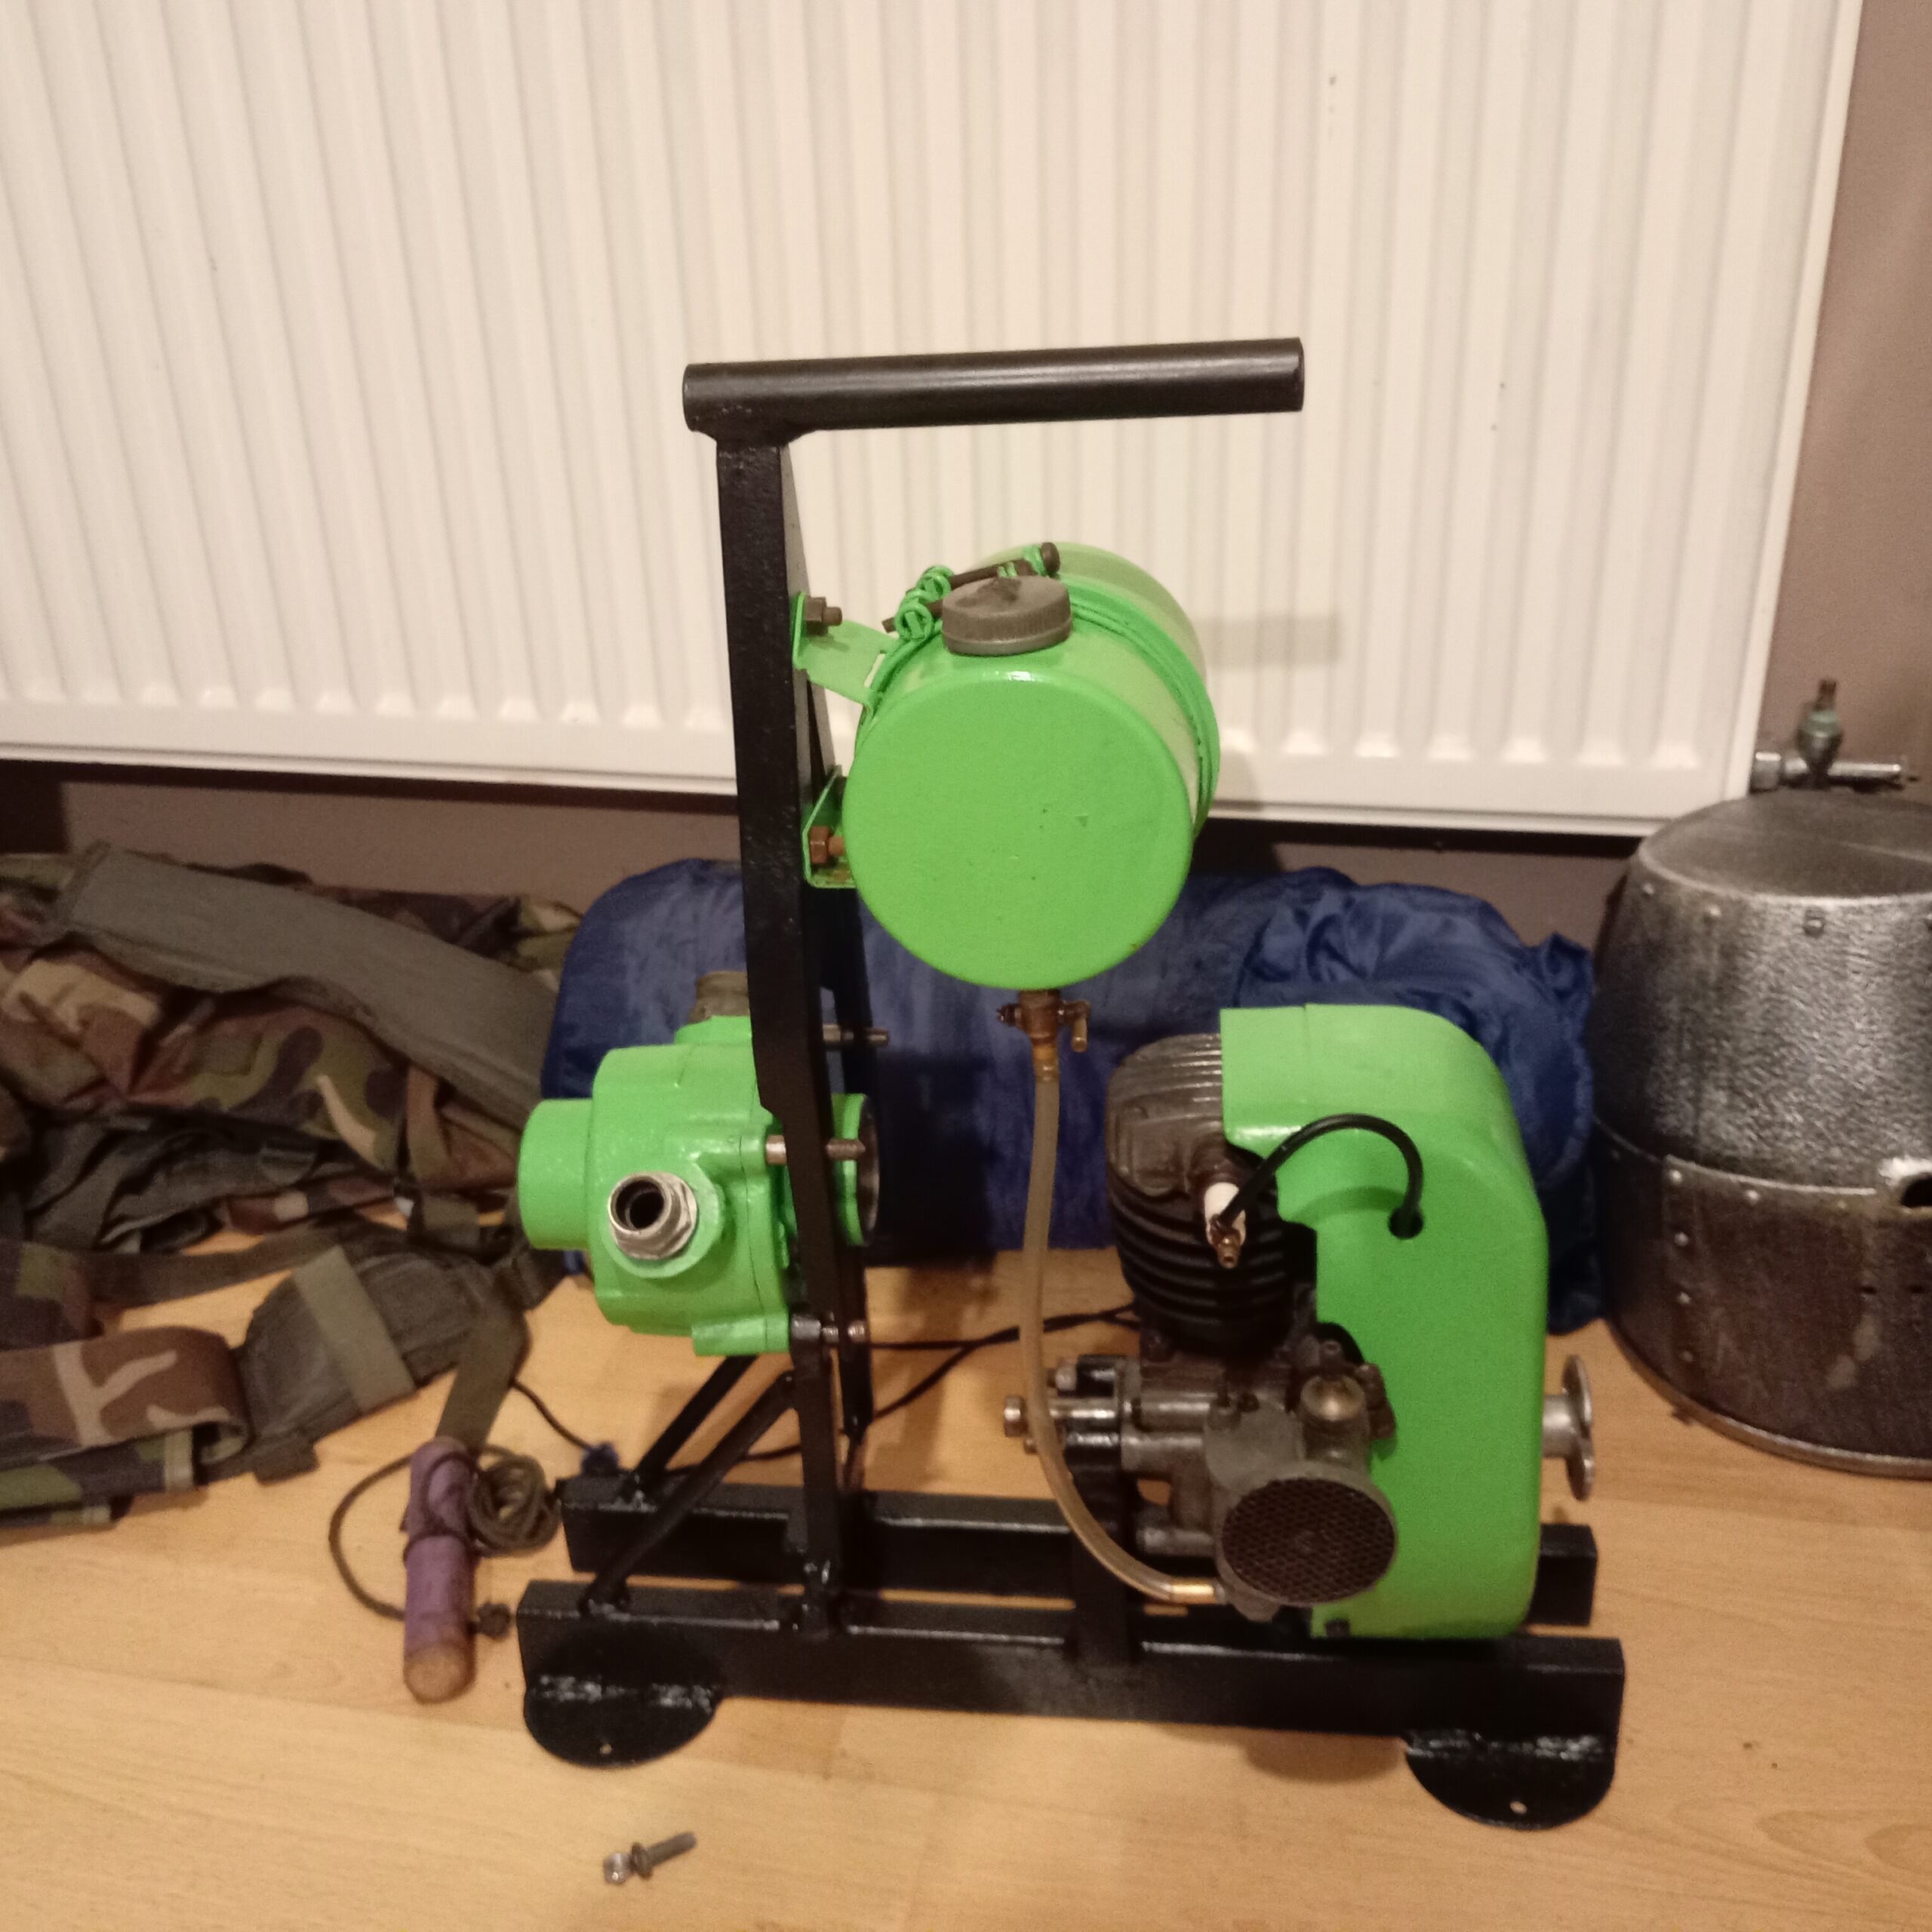
The restoration began in late February 2025, where I completely dismantled the engine and pump. The overall quality of parts that I took off was exceptional, considering the engine was untended for eight years. I started with the engine, which involved taking of the cylinder head, the cylinder block, piston and conrod. I spent a few hours assessing the parts for any obvious wear. The bearings and bushes had little to no play, which was good. Once I was happy that everything was ok, I then started to clean up various parts using a wire brush and brake cleaner. Once the parts where clean I then started putting the engine back together again. It was then time for cleaning and painting the tinwork and fuel tank. I started by using a wire wheel in the drill followed by a quick final rough down with 600 grit wet and dry paper. Once this was done, I then cleaned the metal base and primed it, along with the fuel tank and the front cowling. The base was sprayed with HYCOTE ‘Satin-black’ and the tinwork was sprayed using HYCOTE ‘ford-signal-green’ paint. The engine was soon re-mounted on the base followed with the tank straps and fuel tank.
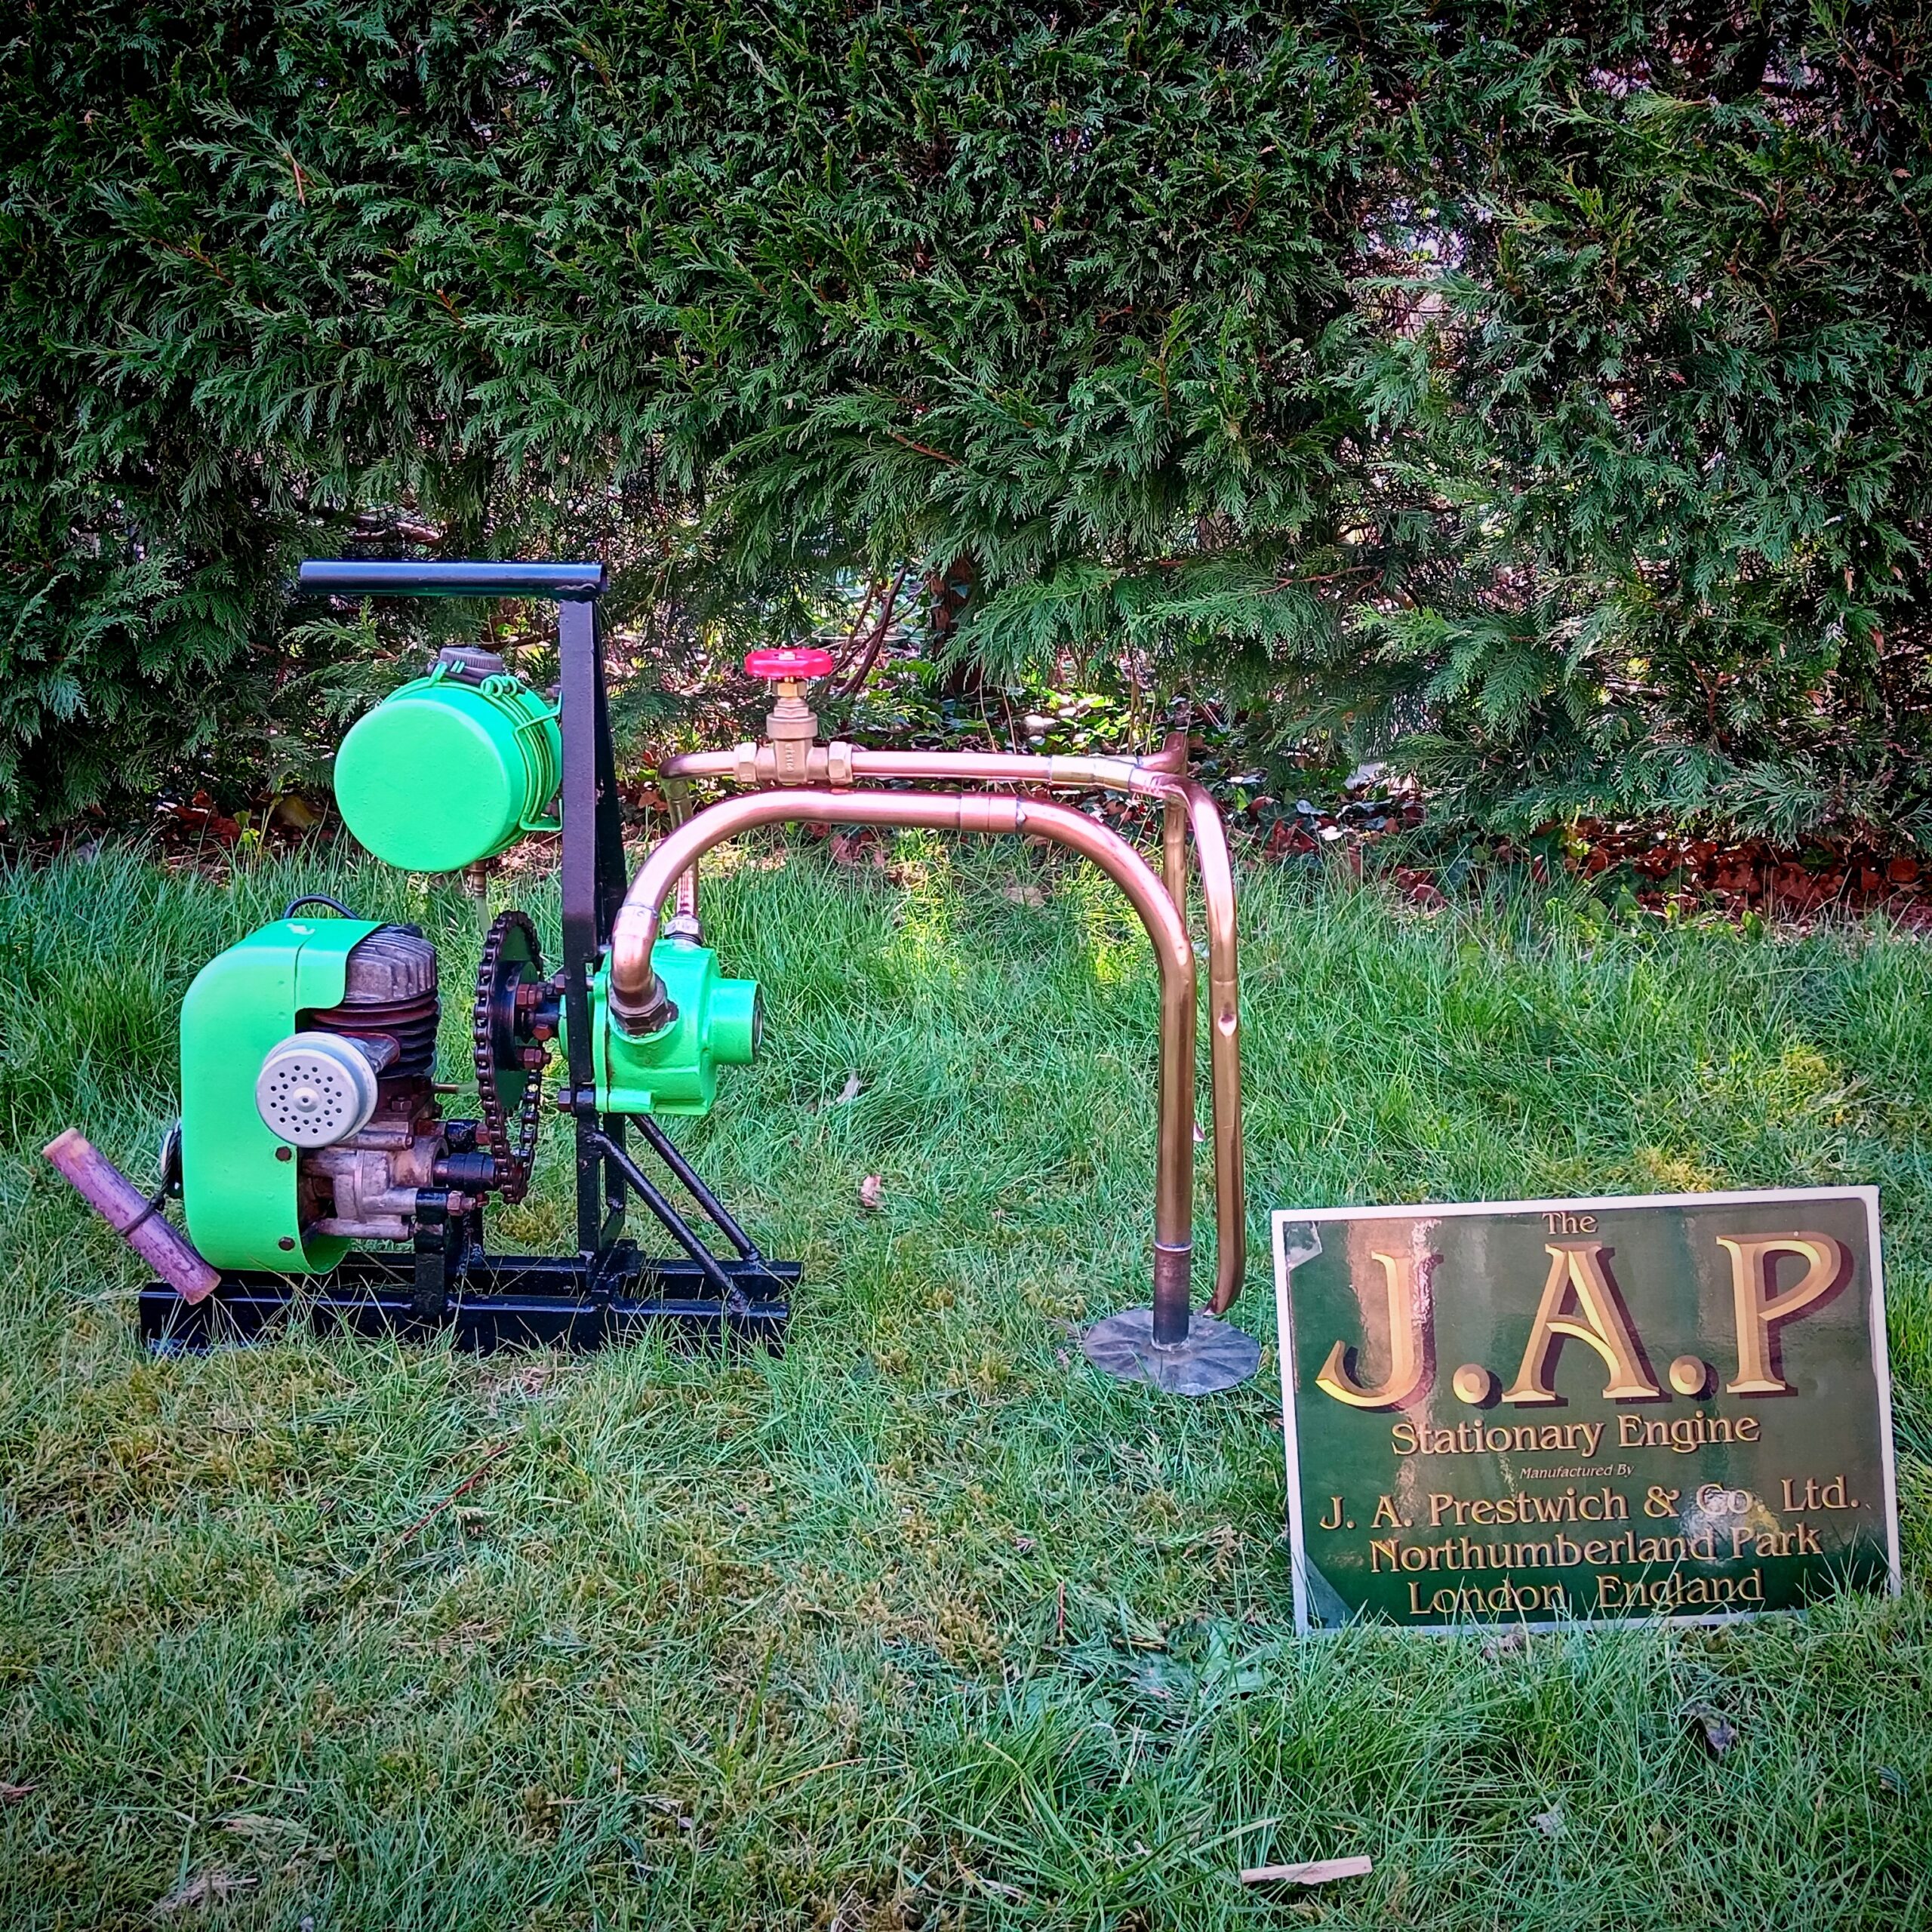
The water pump was more involved than I initially thought. Once I had separated the pump from the engine (this involved splitting the chain on the half link and removing the 4 mounting bolts), I then had better access to the pump where I later removed the 22mm inlet and 15mm outlet from the pump. The first thing I noticed was the two bearings for the impeller shaft were seized solid, and once I split the pump in two, the impeller had very excessive surface rust on the impeller and rollers which involved cleaning it with a wire brush. After cleaning the impeller, it was then down to the 6 individual rollers. These did not take very long to clean and were soon back in the pump. Next, I then cleaned the pump body, impeller, rollers and front cover plate, then, I primed the body using red oxide primer followed by the ‘ford-signal-green’ to match the engine. The pump was soon put back together and reunited with the framework. After the pump was back onto the base, I polished the copper pipe work followed by replacing the 15mm gate valve on the outlet. I then later added the original throttle cable and cable mount to the upright below the fuel tank and replaced the previous plug cap. This consisted of a piece of garden hosepipe, with a better-suited, fully insulated plug cap, although I did get many shocks whilst test running. The engine had finally been reinstated in full working order in April 2025.
The engine and pump set can be seen on my YouTube channel @norfolkheritageengines. (Images 1-4)
You must be logged in to like this post.
Country: GB