
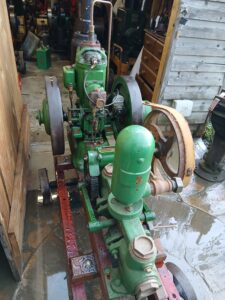
In the shed there has been a rather nice solid flywheel M type pump set, I had it out the other month and gave it a run and decided it was time for a revamp, this engine has not had anything done to it since I’ve owned it apart from a cooling system I fitted just after I got it.
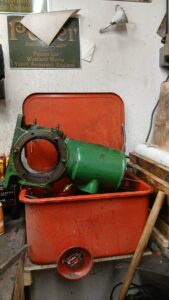
One issue I did have after running it was it “seized” up, bit worried about this but a squirt of oil down the plug hole sorted this so I knew it wasn’t much but that was still something I wasn’t sure of and knew wasn’t right. Down to the workshop it went and it wasn’t long before I had the engine stripped and checked everything out, no serious problems found except the main bearings had been put in the wrong sides, the pulley side main had a return hole in the end and this wasn’t on the governor side so the bearing closed the hole off, might have explained the extra oil coming out on that side, easy fix, both bearings just pushed out.
Degreasing was definatly needed with the internals of this one, I think it has been one of the worse M types I’ve had for gunge in the bottom end….
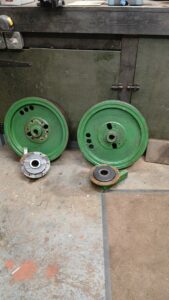
Piston was next, this is where I found the seizure issue, this engine has spent a long time running cold on kero, the whole piston including rings was gummed up solid, seems this was the reason for it “locking up” after it’s last run, a wash in white spirit cleaned most of the gummy crud off and allowed me to check the rings, decided a new set would be best as they didn’t look that good so an order was placed to SEP for a set, first mistake as their rings are for a 3″ bore and mine is 3 1/16th of an inch….. Should have measured them really!!
I did find a website that listed the exact rings I needed at a very reasonable price, so a set was ordered from here:
https://www.dlastore.com/
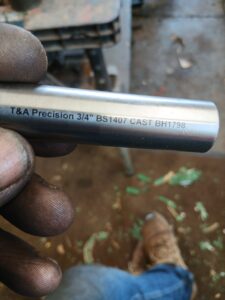
Did mean I had to measure them in metric which was a little bit of a worry, but I still managed to find the exact size I wanted. Worn gudgeon pin was another thing that needed to be addressed but fortunately a good friend called in, and he brought me a new one.
Meanwhile cleaning progressed and one thing I did find was a multitude of colours, started off a light green then I found a darker green, marron, red, black and even yellow!! The paint peeled on in thick sheets mostly and didn’t take much to get most of it off.
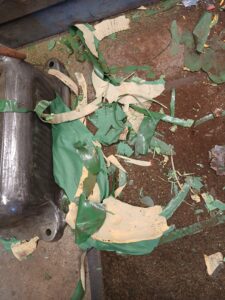
Did clean up well though and once the top 10 or so layers came off it didn’t leave much to actually remove.
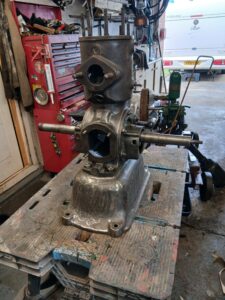
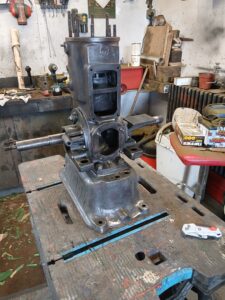
Base tank was full of rust, as normal but it wasn’t that bad it needed anything more than setting on fire to burn off the crap fuel and a good going over with a wire wheel on the grinder.
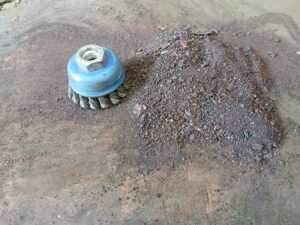
Still a fair bit of crud in there though.
With the engine coming on nicely and a primer coat of red oxide applied I turned to the pump, although this looks like a standard Lister H pump I found out it is actually one of 14 pumps bought by Petter in the early part of the 1930s direct from Godwin who made the H range for Lister, these pumps were supplied in pairs of each size up to the 7 and given the PP prefix from Petter. I wonder if any more survived?
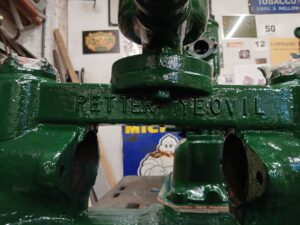
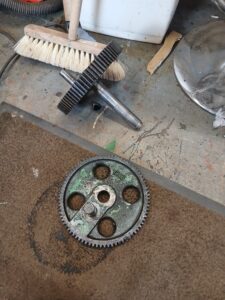
Pump didn’t need much, just a strip down to allow easy paint removal and the threads chased out where the drain plugs fitted, the main plunger and shaft was fitted in the lathe for cleaning and with some 400 grit & WD40 the gunge and crap soon came off leaving a nice clean plunger. primary layshaft on the gears was also reduced in size to allow a bigger pulley to be fitted as when I got the set both engine and pump pulleys where the same size and this didn’t work too well, trolley rocked back and forth so much it disappeared out of the shed!!
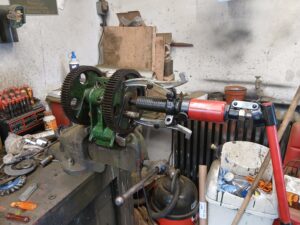
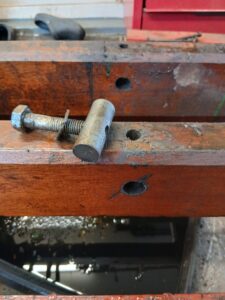
Things got in the way for a few weeks, work and rallies but I still managed to get a few bits done over the summer, trolley made, and I managed to make use of the “captive nuts” that the previous owner made for the pump, quite clever really and something I’ll be using again I think when I next do something like this.
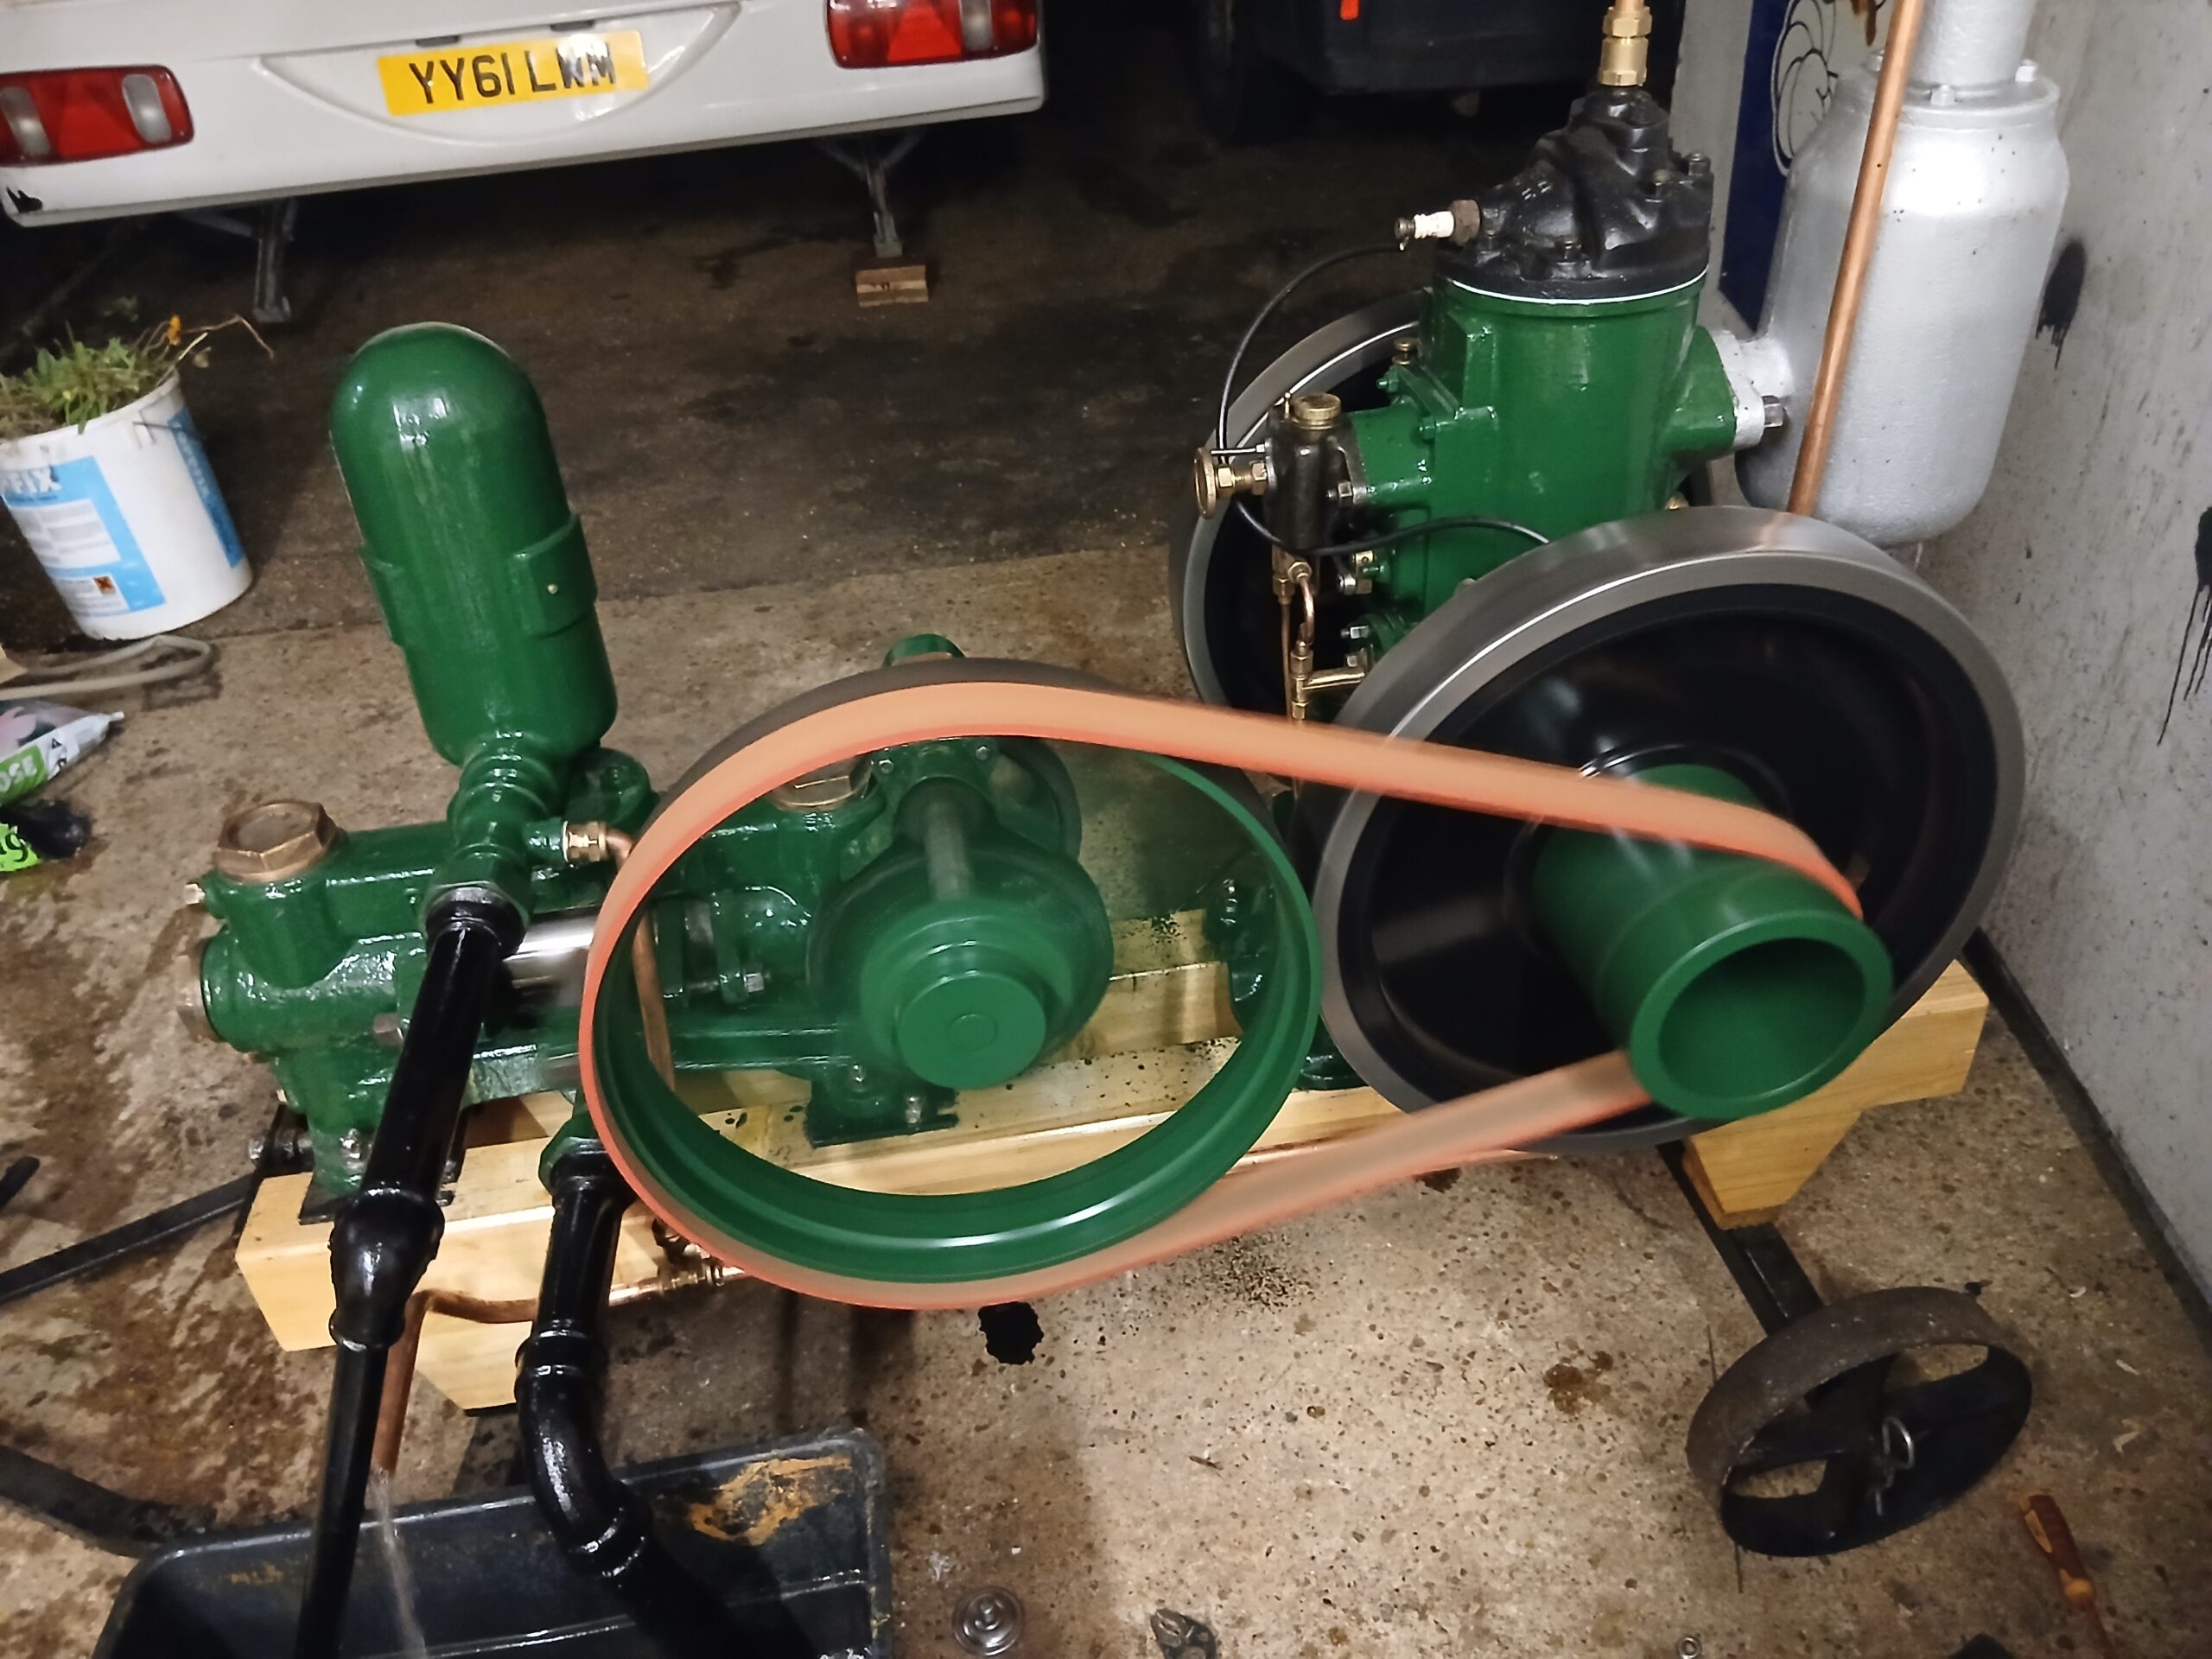
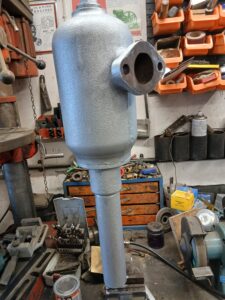
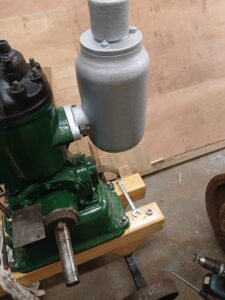
Colour this time I kept it simple, engine and pump both in standard Mid Brunswick, cylinder head matt black, flywheels and large gears on the pump in gloss black and for a change a silver exhaust bottle. Looks quite nice in silver, time will tell…..
All was going well with the rebuild until……
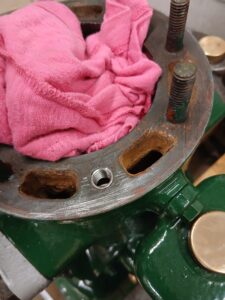
One of the cylinder head studs stripped out, quick ebay search and I found a helicoil kit in the right size so that was bought and a repair made. I was very happy with that as I didn’t fancy making alternative plans!
Once the helicoil was fitted it was back to the rebuild, after years of doing this sort of thing it went reasonably well, I was gifted a set of gaskets so these made the job a lot smoother as although I don’t mind making gaskets some of the smaller ones on a Petter M are a faff because of the size they are, maybe I need to invest in a laser paper cutter……
The trolley was made from some chunky timber I managed to get at Petterfest last year and didn’t take much to work out, I decided to reuse the axles and wheels off the old street trolley it came on and hyst adapted these items to fit, bit of grinding and cutting soon had them off the old frame and cut to size where needed, the steering axle on the front was also cut down and bolted on, another nice touch was whoever made this set to start with also made an adjuster so it is possible to tension the belt as it gets bedded in.
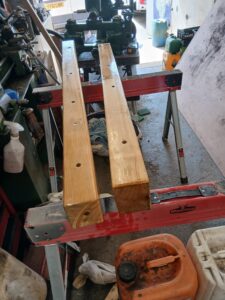
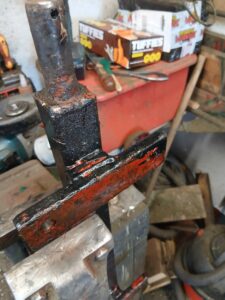
Adjuster, nice touch!
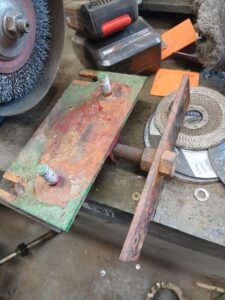
Once the woodwork and steelwork was done it was time to move the engine onto the trolley and get it built up, this is always my favourite part and seeing the end result is very rewarding, it’s seeing everything come together as a finished item rather than just an idea.
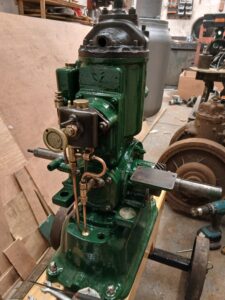
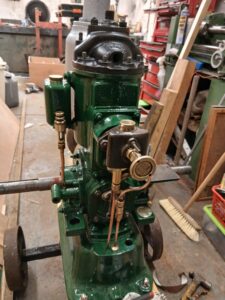
Petterfest was coming up so work once again stopped, I did consider pushing hard and trying to get it finished ready for Petterfest this year but decided against that idea as I didn’t fancy running it while I was running around the field doing “Minion” stuff but as it happened it wasn’t going to happen anyway…..
Time for some plumbing. This is something I do for a living so pipework is easy as pie for me, to make it a bit differently the cooling side of the system is fed via the pump outlet, into the bottom of the cylinder and then cout of the head before returning to the tank, this means the engine and pump can use less water and no need for a big cooling tank, making the whole unit more compact, an idea I have taken from a Stuart Turner pump set I once owned, it works rather well on that so hopefully will do the same on the Petter set. A couple of lengths of 1/2″ copper pipe was bought, some nice bends made using the pipe bender and some brass clips to keep in “in keeping” with the rest of the system, I know some people would rather use iron pipe but in this case the copper was easier plus a bit of bling looks good.
Pipe work done, everything fitted, filled with oil, lubrication points oiled, petrol in, timing checked and……..
Nothing. Not even a fart. first check, sparks, should be plenty, it always had a fantastic hot blue spark from the BTH. At some point the BTH magneto had decided enough was enough and all the fizz had left, fortunately on the shelf I had a recon BTH waiting for an engine so that was fitted in place of the original and this time I had a bit of noise!
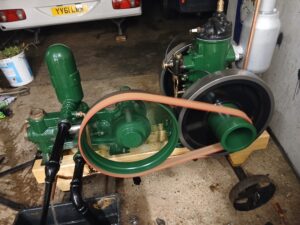
Ran it for about an hour, the cooling water got nice and warm so cool running shouldn’t be an issue, sounds a bit snappy but my engines always do when I run them just outside the garage door as they are surrounded by walls, van, door and a low roof so all that I have left to do is take it outside and give it a longer run in the open, can tweak and adjust as I see fit then and make sure all is well, first thing though is an adjustment on the new drive belt, one of the gators is slightly off square and the belt tracks a bit. However, the old belt doesn’t so it’s my joint that out.
So there we are. Petter Pump set ready for the 2027 rally season. That’ll do me.
You must be logged in to like this post.
Country: GB